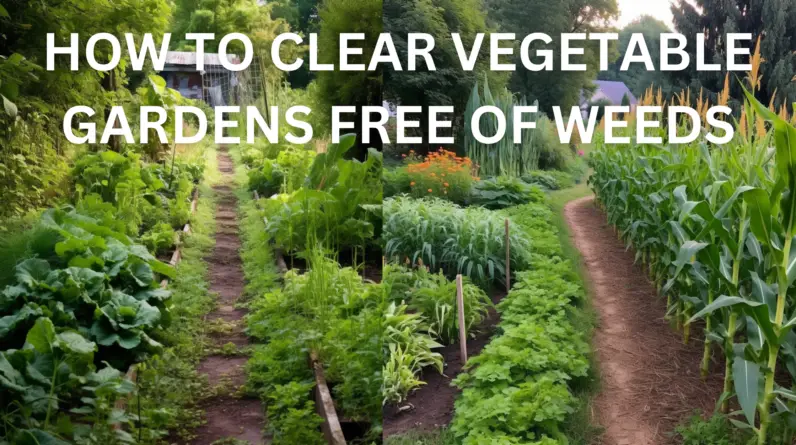
Have you ever wondered how to grow your own organic vegetables? It’s easier than you might think! Whether you have a spacious backyard or just a small balcony, you can create a thriving vegetable garden right at home. In this article, we’ll explore the benefits of growing organic vegetables and provide you with some tips to get started. By the end, you’ll have all the knowledge and confidence you need to grow your own healthy and sustainable vegetables.
Growing organic vegetables not only allows you to enjoy fresh, pesticide-free produce, but it also helps protect the environment and promotes biodiversity. When you grow your own vegetables organically, you know exactly what goes into your food and can avoid harmful chemicals. Plus, it’s a great way to reconnect with nature and enjoy the satisfaction of harvesting your own crops. In this article, we’ll guide you through the essentials of organic gardening, from selecting the right seeds and soil to providing proper care for your plants. With a little patience and effort, you’ll soon be savoring the delicious flavors of your very own organic vegetables. So, let’s dive in and learn how to grow organic vegetables together!
Click Here For The Best Gardening Tools On The Market!
Choosing the Right Location
Assessing Sunlight and Shade
One of the first and most important steps in growing organic vegetables is choosing the right location for your garden. The success of your vegetable garden depends greatly on the amount of sunlight it receives. Most vegetables need at least 6-8 hours of direct sunlight per day to thrive. Therefore, it is crucial to assess the sunlight and shade patterns in your garden before selecting a spot to plant your organic vegetables.
Take some time to observe your garden throughout the day, paying close attention to which areas receive the most sunlight and which areas are shaded for a significant portion of the day. Ideally, you should choose a location that receives maximum sunlight and has minimal shade. This will ensure that your vegetables get the energy they need from the sun to grow and produce a bountiful harvest.
Determining Soil Quality
Another important factor to consider when choosing a location for your organic vegetable garden is the quality of the soil. Different vegetables have different soil requirements, so it is crucial to assess the soil quality before planting. Remember, healthy soil equals healthy plants!
To determine the quality of your soil, start by digging a small hole in the ground and examining the soil’s texture and structure. Ideally, the soil should be loose, well-draining, and rich in organic matter. You can also perform a simple soil test to check the pH level. Most vegetables prefer a slightly acidic soil with a pH ranging from 6 to 7.
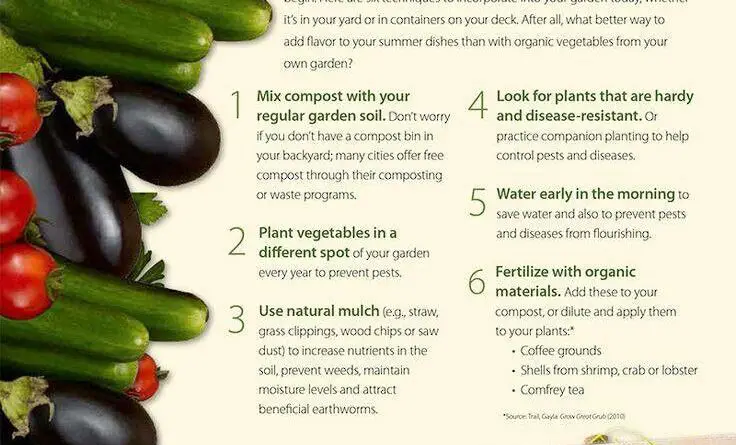
If your soil is compacted or clayey, you can improve it by adding organic matter such as compost, well-rotted manure, or leaf mulch. These amendments will help improve the soil structure, drainage, and fertility, creating a favorable environment for your organic vegetables to grow.
Prepping the Soil
Removing Weeds and Debris
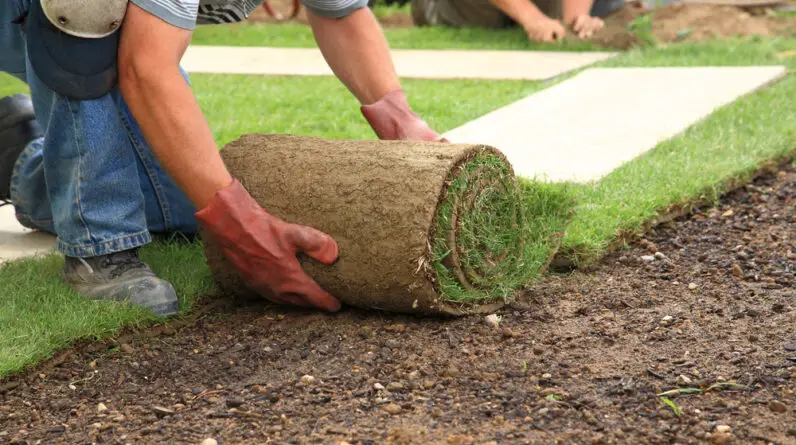
Now that you have chosen the perfect location for your organic vegetable garden, it’s time to prepare the soil for planting. The first step in prepping the soil is removing weeds and debris.
Weeds compete with your vegetables for nutrients, water, and sunlight, so it’s crucial to eliminate them before planting. Start by hand-pulling the weeds, making sure to remove the roots to prevent regrowth. You can also use a garden hoe or a tiller to loosen and remove larger weeds.
Additionally, clear away any debris, such as rocks, sticks, or old plant material, as they can interfere with the growth of your vegetables. This step will create a clean and weed-free bed for your organic vegetables to thrive.
Amending with Organic Matter
After removing weeds and debris, it’s time to amend the soil with organic matter. Organic matter improves soil structure, enhances drainage, and provides essential nutrients for your vegetables.
Spread a generous layer of organic matter, such as compost or well-rotted manure, over the soil surface. Use a garden fork or a tiller to incorporate the organic matter into the top few inches of soil. This will help to increase the soil’s fertility and encourage healthy root development in your organic vegetables.
Testing Soil pH Levels
Before planting your organic vegetables, it is essential to test the soil pH levels. The pH level affects the availability of nutrients to your plants, so it’s crucial to ensure that the soil pH is within the appropriate range.
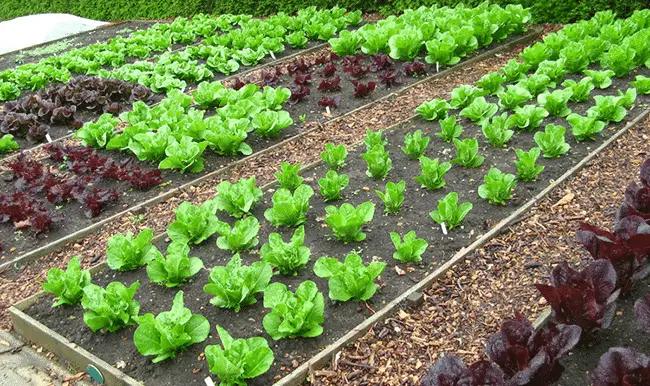
You can purchase a soil testing kit from a local garden center or send a soil sample to a certified laboratory for more accurate results. The ideal pH level for most vegetables is slightly acidic, ranging from 6 to 7. If your soil pH is too high or too low, you can adjust it by adding organic amendments.
Click Here For The Best Gardening Tools On The Market!
Selecting Organic Seeds
Understanding Open-Pollinated vs Hybrid Seeds
Now that you have prepared the soil, it’s time to select the right seeds for your organic vegetable garden. When choosing seeds, it’s essential to understand the difference between open-pollinated and hybrid seeds.
Open-pollinated seeds are pollinated by natural means, such as wind, insects, or birds, and produce plants with the same traits as their parent plants. These seeds are genetically stable and can be saved and replanted year after year. They are a great choice for organic gardeners who value seed diversity and sustainability.
Hybrid seeds, on the other hand, are the result of cross-pollination between two different varieties or species. They are carefully bred to have specific traits, such as disease resistance or higher yields. However, hybrid seeds do not produce plants that are true to the parent plants, so you cannot save and replant their seeds.
Checking for Organic Certification
When selecting seeds for your organic vegetable garden, it’s essential to choose certified organic seeds. Organic certification ensures that the seeds have been grown and processed according to strict organic standards, without the use of synthetic chemicals or genetically modified organisms (GMOs).
Look for seeds that are labeled as certified organic or have the USDA organic logo. This ensures that your vegetables will be grown from seeds that have not been treated with chemical pesticides or herbicides, providing you with truly organic produce.
Starting Seedlings Indoors
Choosing the Right Containers
To get a head start on your organic vegetable garden, you can start some seeds indoors before the last frost date in your area. Starting seeds indoors allows you to extend the growing season and gives you more control over the growing conditions.
When starting seedlings indoors, it’s important to choose the right containers. Use seed trays, peat pots, or recycled containers with drainage holes to provide the seeds with proper air circulation and prevent waterlogging.
Fill the containers with a good quality seed starting mix, which is light, well-draining, and sterile. Avoid using garden soil as it can be heavy and may contain weed seeds or pathogens that can harm your seedlings.
Sowing Seeds at the Appropriate Depth
Each seed has specific planting depth requirements, so it’s crucial to sow the seeds at the appropriate depth. As a general rule, plant the seeds two to three times deeper than their size. For small seeds, sprinkle them lightly on the soil surface and press them gently to ensure good seed-to-soil contact.
Cover the seeds with a thin layer of seed starting mix or vermiculite to help retain moisture and provide a stable environment for germination. Place a clear plastic cover or a plastic bag over the containers to create a mini greenhouse effect and maintain humidity.
Providing Adequate Light and Temperature
Seeds need warmth and light to germinate and grow into healthy seedlings. Place the containers in a warm location, such as a south-facing window or a greenhouse, where the temperature ranges between 70-85°F (21-29°C).
If natural light is insufficient, you can supplement it with artificial grow lights. Position the lights 2-4 inches above the seedlings and adjust the height as the plants grow to maintain the optimum distance. Provide 12-16 hours of light per day to ensure vigorous growth and prevent leggy seedlings.
Transplanting Seedlings
Preparing the Planting Holes
When the danger of frost has passed and your seedlings have developed a few sets of leaves, it’s time to transplant them into your prepared garden bed. Before transplanting, prepare the planting holes to ensure a smooth transition for your seedlings.
Dig a hole slightly larger than the root ball of the seedling, deep enough to accommodate the roots and to allow the top of the root ball to be level with, or slightly above, the soil surface. Space the planting holes according to the recommended spacing for each vegetable variety, which is usually included on the seed packet or plant label.
Handling Seedlings Carefully
When handling seedlings, it’s important to be gentle to avoid damaging the delicate roots and stems. Carefully remove each seedling from the container, taking care not to disturb the roots. If the roots are tightly bound, gently loosen them using your fingers or a garden tool to encourage outward growth.
Hold the seedling by its leaves, not the stem, and place it in the prepared planting hole. Gently backfill the hole with soil, making sure to eliminate air pockets around the roots. Press the soil lightly to secure the seedling in place.
Watering Transplants Properly
After transplanting, give your seedlings a thorough watering to help them settle into their new environment. Water each plant at its base, aiming for the soil rather than the leaves, to prevent the spread of diseases. Make sure to water deeply to encourage the seedlings’ roots to reach downward in search of moisture.
Avoid overwatering, as it can suffocate the roots and lead to disease problems. As a general guideline, water your seedlings when the top inch of soil feels dry. Monitor the soil moisture levels regularly and adjust your watering schedule accordingly.
Irrigation and Watering Techniques
Using Drip Irrigation Systems
Proper irrigation is essential for the success of your organic vegetable garden. Drip irrigation systems are an efficient and water-saving method to deliver water directly to the plants’ root zone, minimizing water waste through evaporation or runoff.
Drip irrigation systems consist of tubes or hoses with tiny holes, which release water slowly and evenly near the plant’s base. They can be installed either above the soil surface or buried beneath it, depending on your preferences and garden layout.
By using drip irrigation systems, you can conserve water, prevent soil erosion, and reduce the risk of diseases caused by wet foliage. This method also keeps the leaves dry, reducing fungal infections and minimizing the spread of pests.
Mulching to Retain Moisture
Mulching is another effective technique to conserve soil moisture and suppress weeds in your organic vegetable garden. Mulch acts as a protective layer on the soil surface, reducing evaporation and regulating soil temperature.
Choose organic mulch materials, such as straw, wood chips, or compost, to provide both water conservation benefits and added nutrients to the soil as they break down. Apply a layer of mulch around your vegetable plants, leaving a small gap around the stem to prevent moisture-related diseases.
Monitoring Soil Moisture Levels
To determine when and how much to water your organic vegetables, it’s vital to monitor the soil moisture levels regularly. Stick your finger into the soil about an inch deep to feel for moisture. If the soil feels dry at this depth, it’s time to water.
As mentioned earlier, it’s important not to overwater your vegetables. Overwatering can suffocate the roots and promote the growth of harmful fungi and bacteria. By monitoring the soil moisture levels and adjusting your watering schedule accordingly, you can ensure that your organic vegetables receive adequate hydration without drowning them.
Organic Pest Control Methods
Encouraging Beneficial Insects
One of the most effective and sustainable ways to control pests in your organic vegetable garden is by encouraging beneficial insects. Beneficial insects, such as ladybugs, lacewings, and predatory wasps, feed on harmful pests, such as aphids, caterpillars, and mites.
To attract beneficial insects, you can plant flowering plants that provide nectar and pollen as food sources for these beneficial creatures. Examples of beneficial insect-attracting plants include yarrow, dill, calendula, and fennel. Avoid using chemical pesticides, as they can harm beneficial insects and disrupt the ecosystem of your garden.
Implementing Companion Planting
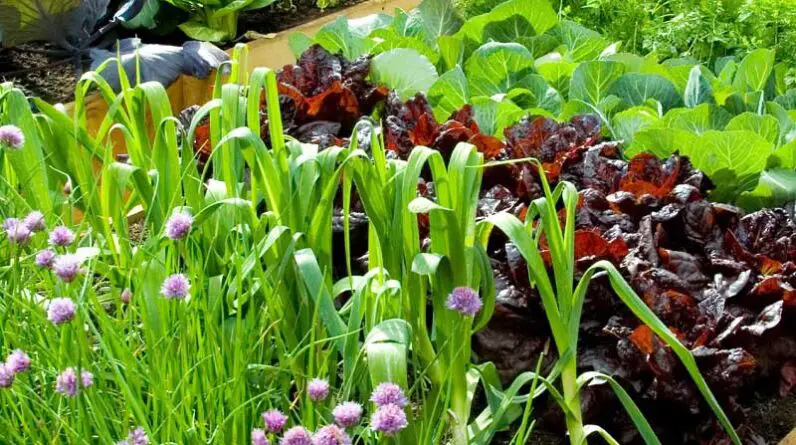
Another organic pest control method is companion planting, which involves grouping certain plants together to repel pests or attract beneficial insects. By planting certain flowers, herbs, or vegetables near your organic vegetables, you can create a natural pest control system.
For example, planting marigolds or nasturtiums near your vegetable plants can repel aphids and other harmful insects. Planting basil or dill next to your tomatoes can attract beneficial insects that prey on tomato hornworms.
Research the different companion planting combinations and experiment with what works best in your garden. Not only will companion planting help control pests naturally, but it can also enhance the overall beauty and diversity of your organic vegetable garden.
Using Organic Pest Repellents
Sometimes, despite your best efforts, pests may still find their way into your organic vegetable garden. In such cases, using organic pest repellents can help deter them and protect your plants.
There are many organic pest repellents available in the market or that you can easily make at home. For example, a mixture of water and garlic can repel aphids and caterpillars. Neem oil, derived from the neem tree, is an effective organic insecticide that can control a wide range of pests.
Always follow the instructions provided by the manufacturer when using organic pest repellents, and be cautious not to harm beneficial insects or contaminate your organic vegetables.
Fertilization with Organic Nutrients
Composting to Enhance Soil Fertility
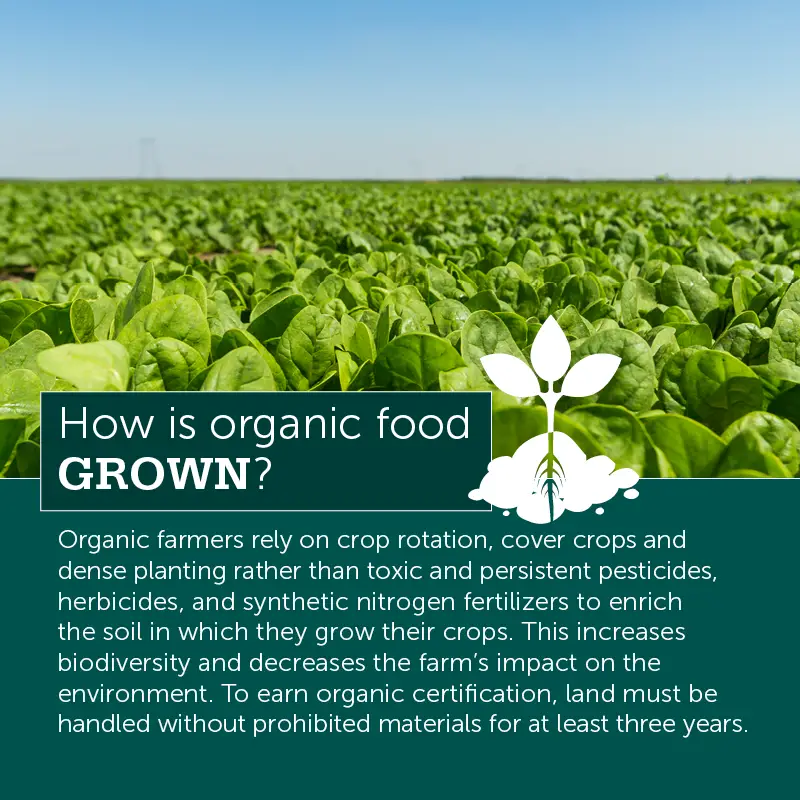
One of the key principles of organic gardening is enriching the soil with organic nutrients. Composting is a natural and sustainable way to improve soil fertility and provide essential nutrients to your organic vegetables.
Compost is created by decomposing organic materials such as kitchen scraps, yard waste, and manure. These materials break down over time, creating a nutrient-rich humus that can be added to your soil to improve its structure and fertility.
To start composting, collect kitchen scraps such as fruit and vegetable peels, coffee grounds, and eggshells. Mix them with brown materials such as dried leaves, straw, or shredded newspaper. Turn the compost pile regularly to aerate it and help speed up the decomposition process.
Utilizing Organic Fertilizers
In addition to compost, you can supplement your organic vegetable garden with organic fertilizers to ensure that your plants have access to the nutrients they need. Organic fertilizers are derived from natural sources such as animal manure, fish emulsion, bone meal, or seaweed.
Before applying organic fertilizers, it is important to read and follow the instructions provided on the packaging. Avoid over-fertilizing, as it can burn the roots of your plants and negatively impact their growth.
Organic fertilizers provide a slow-release of nutrients, nourishing your organic vegetables gradually and improving soil fertility over time. They also help promote beneficial soil microorganisms, which aid in nutrient absorption and overall plant health.
Avoiding Synthetic Chemicals
As an organic gardener, it’s crucial to avoid the use of synthetic chemicals, such as synthetic fertilizers or pesticides. Synthetic chemicals not only disrupt the balance of the ecosystem but can also harm beneficial insects, contaminate the soil and water, and pose health risks to you and your family.
By utilizing organic fertilizers and pest control methods, you can grow healthy and nutritious organic vegetables while promoting a sustainable and harmonious garden environment.
Harvesting and Storing Organic Vegetables
Determining Harvesting Time
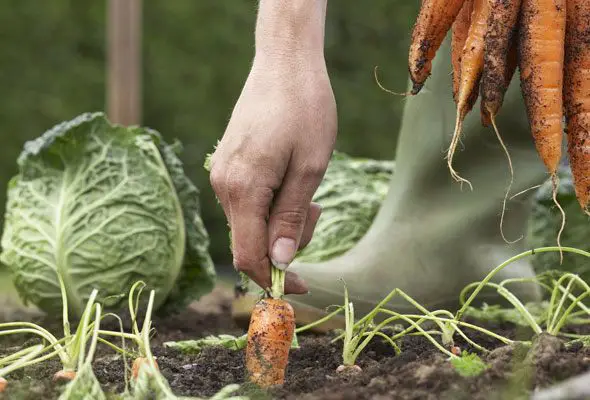
After all your hard work, it’s finally time to harvest your organic vegetables. Determining the right time to harvest each vegetable is important to ensure optimal flavor and nutritional value.
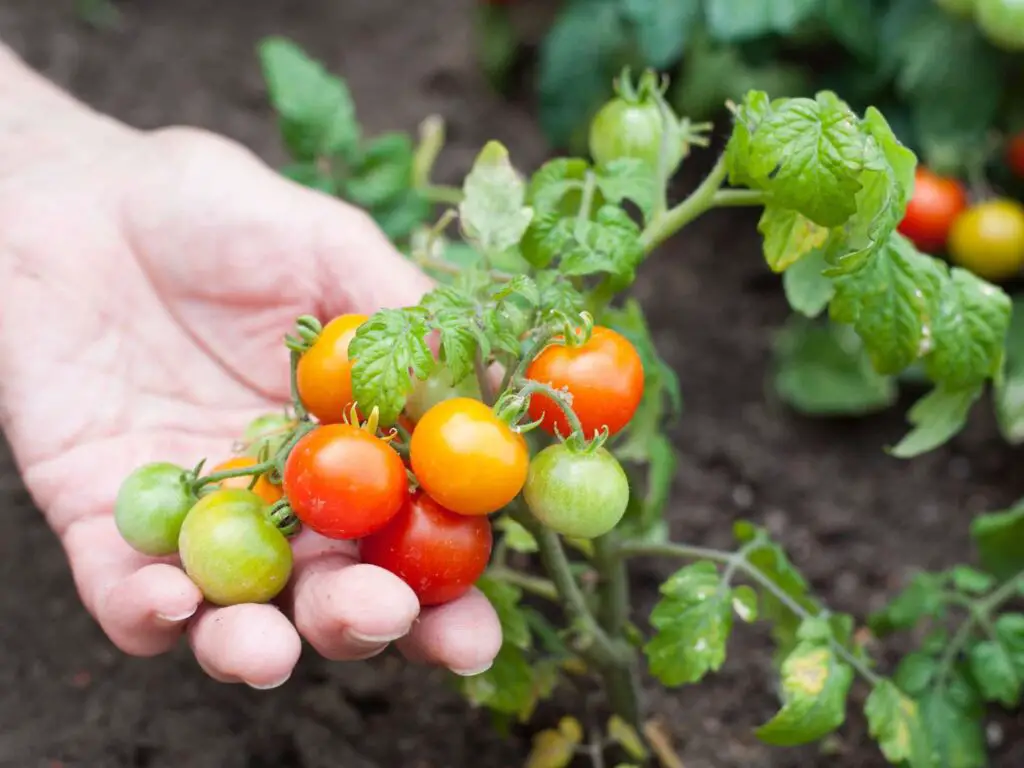
Different vegetables have different indicators for harvest readiness. For example, leafy greens such as lettuce and spinach can be harvested when the leaves are large enough to eat. Tomatoes are ready to be picked when they reach their full color and feel slightly soft to the touch.
Consult the seed packet or plant label for specific information on each vegetable variety’s harvesting time. Remember, it’s better to harvest your vegetables a bit early rather than waiting too long, as overripe vegetables may lose their taste and become susceptible to pests and diseases.
Properly Washing and Handling Crops
Once you have harvested your organic vegetables, it’s important to handle them with care to maintain their quality. Start by washing your vegetables to remove any dirt or debris.
Fill a bowl or sink with cold water and gently submerge your vegetables. Swish them around to dislodge any dirt or insects. For root vegetables such as carrots or potatoes, use a soft brush to scrub off any remaining soil. Rinse the vegetables thoroughly under running water to remove any residue.
After washing, allow your vegetables to air dry or pat them gently with a clean towel before storing or consuming. Avoid leaving vegetables wet, as moisture can promote the growth of harmful bacteria or fungi.
Implementing Appropriate Storage Methods
Proper storage is crucial to maximize the shelf life of your organic vegetables. Different vegetables have different storage requirements, so it’s important to follow specific guidelines for each.
Some vegetables, such as onions, garlic, and winter squash, prefer cool and dry conditions. Store them in a well-ventilated area away from sunlight. Other vegetables, such as leafy greens and herbs, prefer to be stored in the refrigerator. Wrap them loosely in a damp paper towel and place them in a plastic bag to maintain their freshness.
Inspect your stored vegetables regularly and remove any spoiled or rotting produce to prevent the spread of diseases. By implementing appropriate storage methods, you can enjoy your organic vegetables for an extended period, minimizing waste and saving money.
Conclusion
In conclusion, growing organic vegetables is a rewarding and sustainable practice that allows you to enjoy fresh and nutritious produce while protecting the environment. By choosing the right location, prepping the soil, selecting organic seeds, starting seedlings indoors, transplanting seedlings, implementing proper irrigation and pest control techniques, fertilizing with organic nutrients, and storing your vegetables properly, you can grow a successful organic vegetable garden.
Organic vegetable gardening not only provides you with a sense of accomplishment but also contributes to a healthier and more sustainable food system. By avoiding synthetic chemicals and utilizing organic methods, you can cultivate vegetables that are free from harmful residues, packed with nutrients, and bursting with flavor.
Embark on your organic vegetable gardening journey today, and reap the benefits of fresh, delicious, and chemical-free produce that you can proudly share with your loved ones. Happy gardening!


